Create ML Workflows with MLflow and Docker

MLflow Introduction
MLflow is a widely used tool known for managing the life cycle of machine learning workflows for MLOps or data scientist. MLflow has several main components:
- Tracking: Record and query experiments: code, data, config, and results
- Project: Package data science code in a format to reproduce runs on any platform
- Model: Deploy machine learning models in diverse serving environments
- Registry: Store, annotate, discover, and manage models in a central repository
MLflow covers many of the key issues in model development. In this blog post, we will learn on how to utilize MLflow in model development by using docker container to simulate production condition.
Preparation
Create Docker Container
First we need to initialize our project directory
mkdir mflow-tutorial
cd mlflow-tutorial
git init
That will create our project directory called mlflow-tutorial and initialize it as git repository.
First create docker directory to store our customized Dockerfile
mkdir docker
Then create Dockerfile inside docker directory contains following content
FROM ghcr.io/mlflow/mlflow:latest

RUN pip install boto3 psycopg2-binary
Also create Dockerfile.jupyter inside docker directory contains following content
FROM jupyter/datascience-notebook:latest

RUN pip install mlflow boto3 psycopg2-binary
Final step is create docker-compose.yaml in project's root directory with following content
version: '3'
services:
  jupyter:
    build:
      context: ./docker
      dockerfile: Dockerfile.jupyter
    container_name: jupyter
    ports:
      - '8888:8888'
    volumes:
      - './notebook:/home/jovyan/work'
    networks:
      - mlflow
    environment:
      - JUPYTER_ENABLE_LAB=yes
      - JUPYTER_TOKEN=mlflow
      - AWS_ACCESS_KEY_ID=mlflow
      - AWS_SECRET_ACCESS_KEY=password
      - MLFLOW_S3_ENDPOINT_URL=http://minio:9000

  mlflow-web:
    build:
      context: ./docker
      dockerfile: Dockerfile
    ports:
      - "5000:5000"
    environment:
      - AWS_ACCESS_KEY_ID=mlflow
      - AWS_SECRET_ACCESS_KEY=password
      - MLFLOW_S3_ENDPOINT_URL=http://minio:9000
    networks:
      - mlflow
    entrypoint: mlflow server --backend-store-uri postgresql+psycopg2://mlflow:secret@pgsql/mlflow --default-artifact-root s3://mlflow/ --artifacts-destination s3://mlflow/ -h 0.0.0.0
    depends_on:
      - pgsql
      - minio

  minio:
    image: 'minio/minio:latest'
    ports:
      - '${FORWARD_MINIO_PORT:-9000}:9000'
      - '${FORWARD_MINIO_CONSOLE_PORT:-8900}:8900'
    environment:
      MINIO_ROOT_USER: mlflow
      MINIO_ROOT_PASSWORD: password
    volumes:
      - 'mlflow-minio:/data/minio'
    networks:
      - mlflow
    command: 'minio server /data/minio --console-address ":8900"'
    healthcheck:
      test:
        - CMD
        - curl
        - '-f'
        - 'http://localhost:9000/minio/health/live'
      retries: 3
      timeout: 5s

  pgsql:
    image: 'postgres:14'
    ports:
      - '${FORWARD_DB_PORT:-5432}:5432'
    environment:
      PGPASSWORD: '${DB_PASSWORD:-secret}'
      POSTGRES_DB: '${DB_DATABASE:-mlflow}'
      POSTGRES_USER: '${DB_USERNAME:-mlflow}'
      POSTGRES_PASSWORD: '${DB_PASSWORD:-secret}'
    volumes:
      - 'mlflow-pgsql:/var/lib/postgresql/data'
    networks:
      - mlflow
    healthcheck:
      test:
        - CMD
        - pg_isready
        - '-q'
        - '-d'
        - '${DB_DATABASE:-mlflow}'
        - '-U'
        - '${DB_USERNAME:-mlflow}'
      retries: 3
      timeout: 5s

networks:
  mlflow:
    driver: bridge

volumes:
  mlflow-pgsql:
    driver: local
  mlflow-minio:
    driver: local
Before running our docker container we need to create notebook directory to store our experiment notebook, by using command
mkdir notebook
touch notebook/.gitkeep
Here is the final structure of our project
mlflow-tutorial
├── docker
│   ├── Dockerfile
│   └── Dockerfile.jupyter
├── docker-compose.yaml
└── notebook
    └── .gitkeep
Explanation
In this step we try to simulate on how MLflow being utilized in production by using docker containers. In our docker-compose.yaml file we create several services:
jupyter: this service will run jupyter-lab and store our notebook in our localnotebookdirectory, keep in mind that ournotebookdirectory is mounted toworkdirectory which means you should create your exploration/experiment notebook underworkdirectoryminio: this service will create s3 like storage service, which can be useful since usually we will use storage like AWS S3 or Google Storage.pgsql: this service act as database storage used for MLflow backend storemlflow-web: this service will act as MLflow Tracking UI to help us manage our experiment
Conclusion
We can create checkpoint for current state by commiting changes to git with command
git commit -m "init services"
Running Container
Before starting our experiment we need to start our services by running command
docker compose up -d
This will start all our services, after all service started there is several things to do.
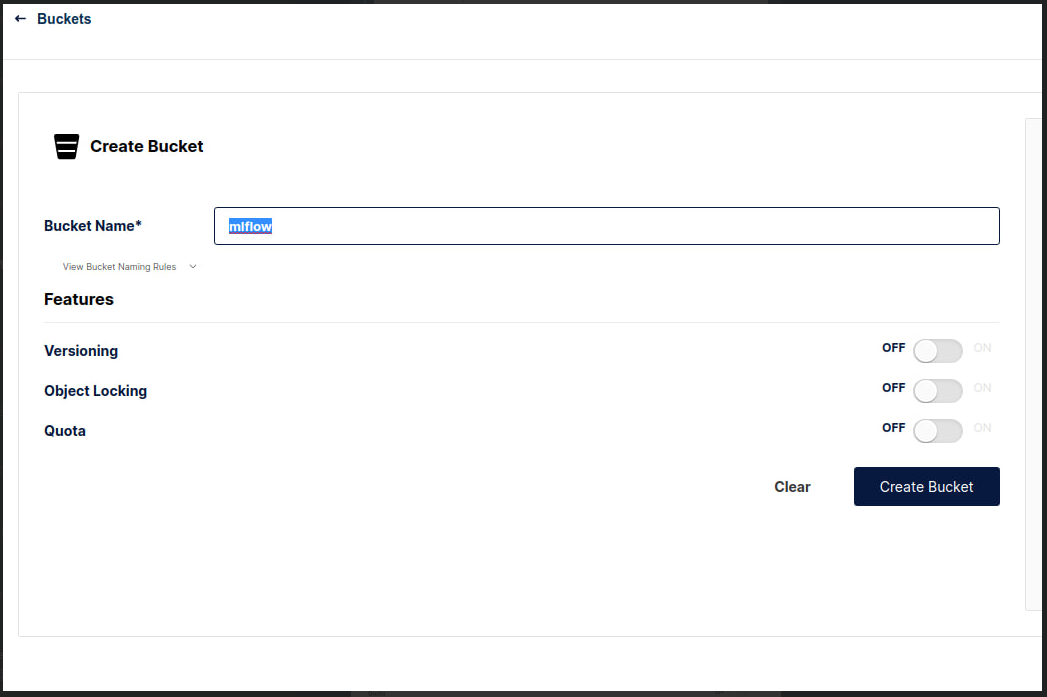
First, we need to create our bucket storage by visiting http://localhost:9000 , use credential defined on docker-compose.yaml to login. Create bucket with name mlflow.
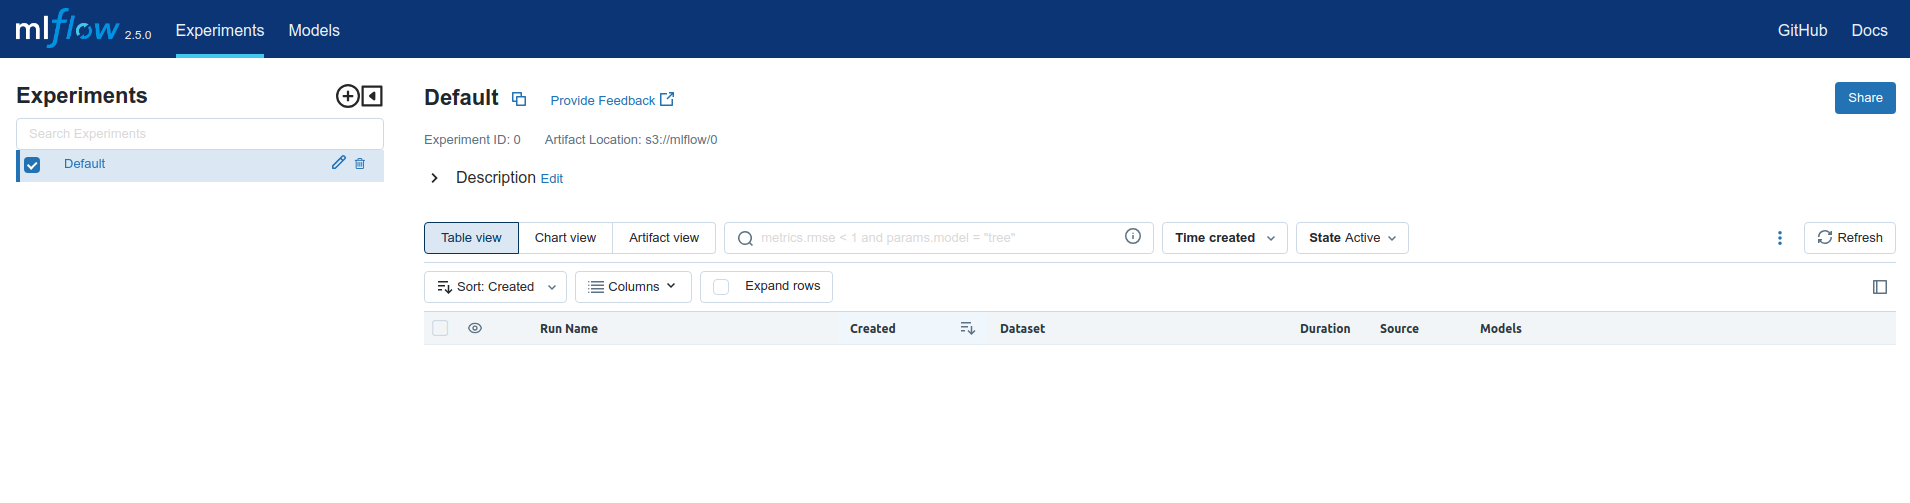
Access MLflow UI by visiting http://localhost:5000
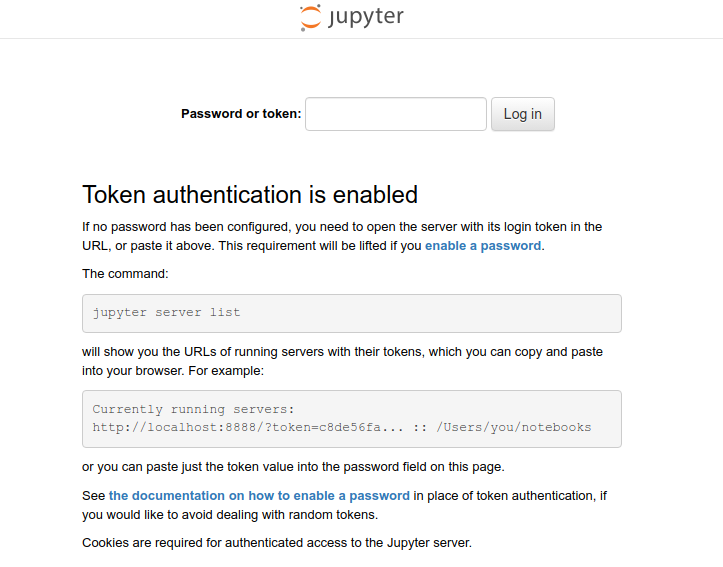
And access jupyter lab by visiting http://localhost:8888, if prompted password or token use defined token on docker-compose.yaml
Create Experiment
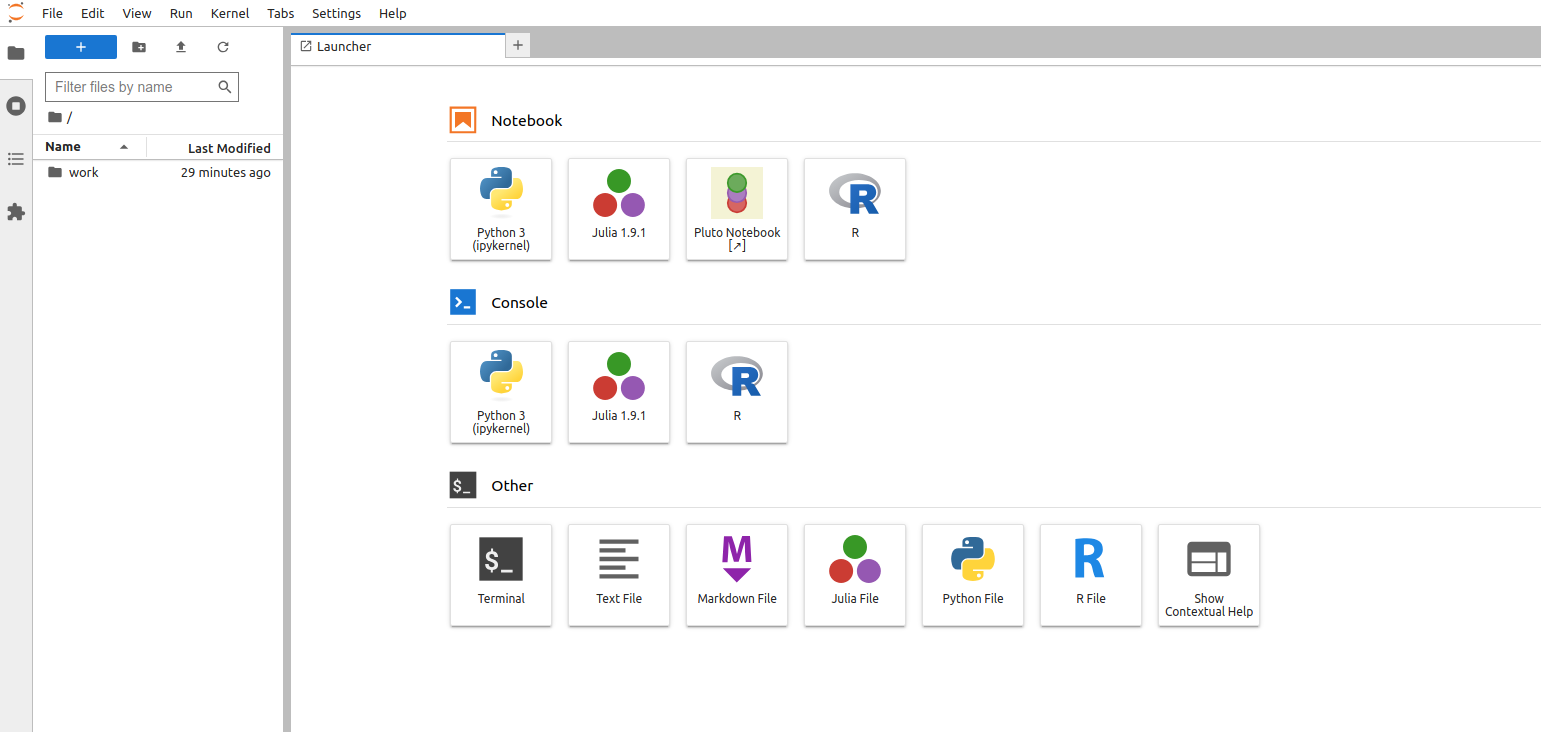
To create experiment, you can use jupyter-lab by accessing http://localhost:8888 then enter work directory in jupyter lab interface to store experiment notebook. In this tutorial we will create simple experiment by using sample RandomForestRegressor provided by scikit-learn.
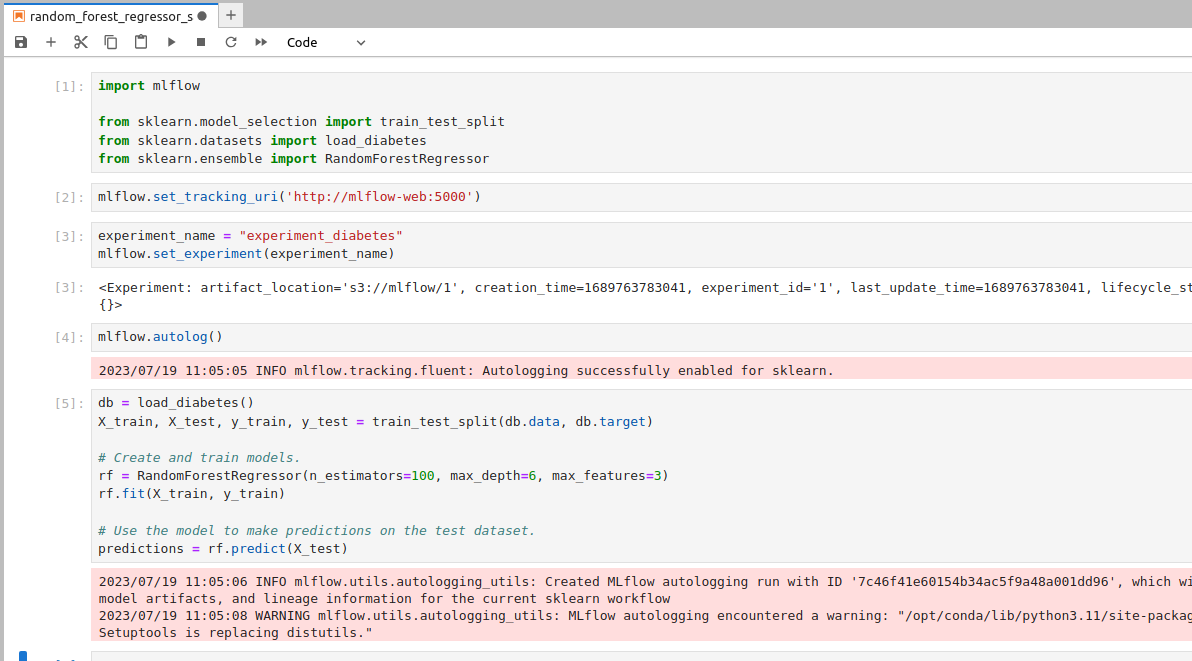
Create notebook named random_forest_regressor_sample.ipynb. Add following code to created notebook
import mlflow

from sklearn.model_selection import train_test_split
from sklearn.datasets import load_diabetes
from sklearn.ensemble import RandomForestRegressor
This code will import required module and package in our experiment. Then set connect to MLflow by set the tracking uri with following code
mlflow.set_tracking_uri('http://mlflow-web:5000')
Next we can set our experiment name by using set_experiment API with following code
experiment_name = "experiment_diabetes"
mlflow.set_experiment(experiment_name)
In this sample tutorial, we will use MLflow autologging feature by specifying autolog
mlflow.autolog()
Then run common flow for building model
db = load_diabetes()
X_train, X_test, y_train, y_test = train_test_split(db.data, db.target)

# Create and train models.
rf = RandomForestRegressor(n_estimators=100, max_depth=6, max_features=3)
rf.fit(X_train, y_train)

# Use the model to make predictions on the test dataset.
predictions = rf.predict(X_test)
Perfect! We already have our model created and it has been tracked in MLflow. Now, if we go to the MLflow Tracking we will see that the model has several components.
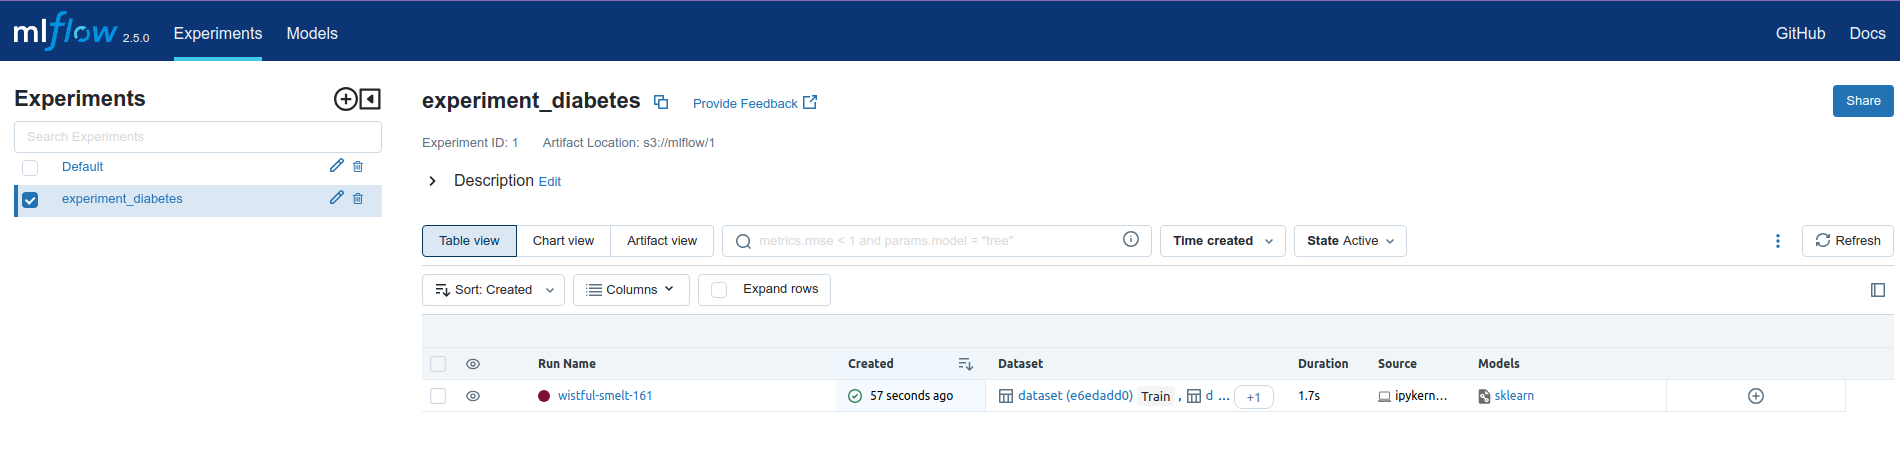
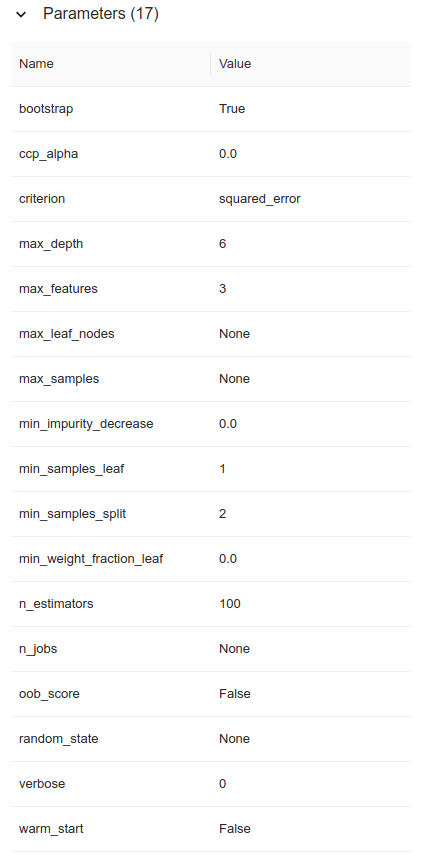
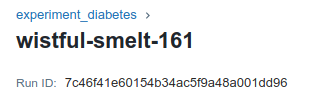
First it creates experiment named experiment_diabetes and new run name wistful-smelt-161 this name is generated when we run our experiment. Next on run detail page, we have three important parts. First is parameter , this part show what parameters is passed to used classifier in our experiment (in this case sklearn RandomForestRegressor).
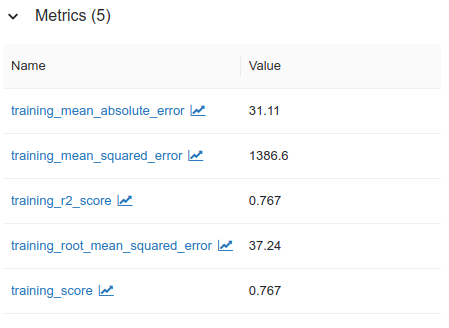
Next we can also see what the metrics that we have achieved with this model. In this case we have only included final metrics, but if we had trained a neural network, for example, we could have saved other metrics such as the validation accuracy of each iteration.
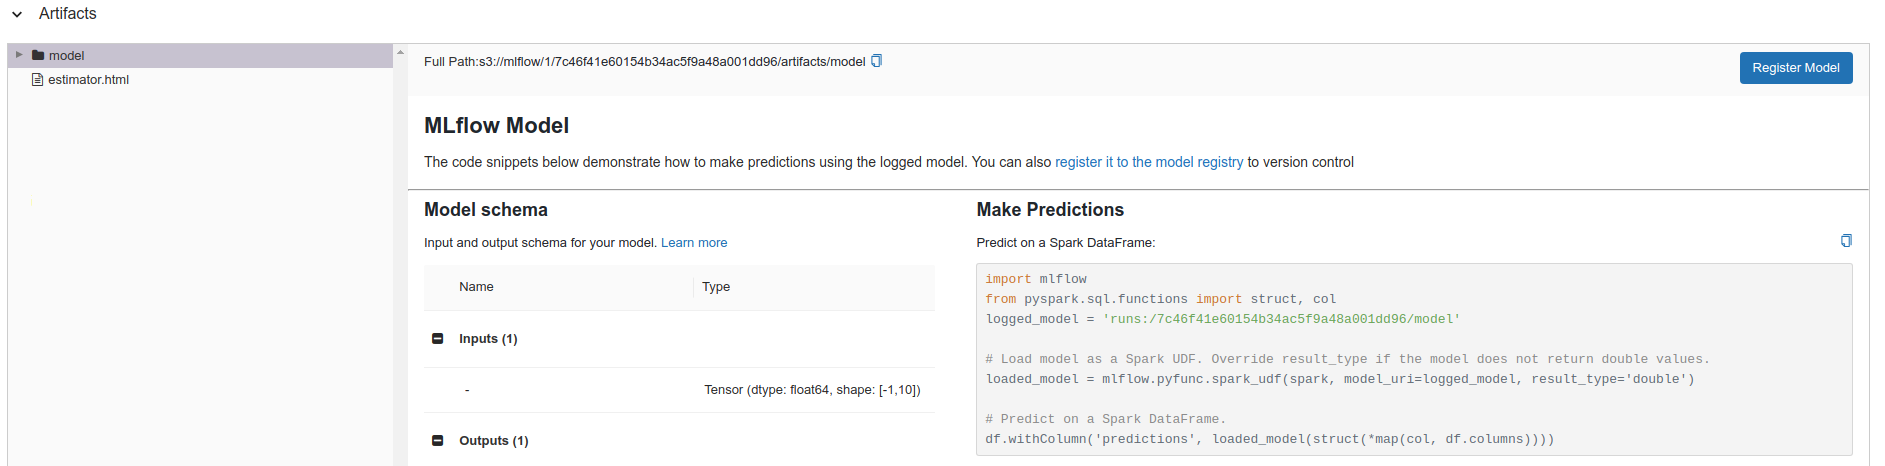
Last is artifact section, where our model is stored. We can also store other thing than model such as plots, or required data that shown in our experiment. By using autolog feature, it is very easy to log parameter, metrics and artifact for our model.
Create Prediction with MLflow model
Registering Model
Before we able to serve prediction with our model from MLflow Tracking we need to register our experiment model to MLflow model.
First go to artifact tab, and select model directory then apply Register Model button
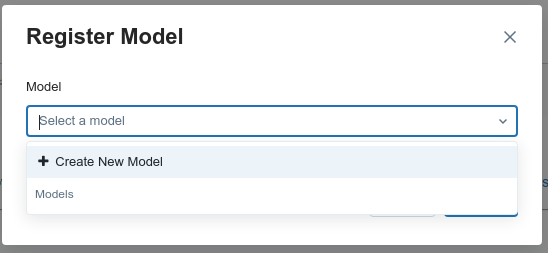
This will prompt create new model name dialog box
In this case we will use name Diabetes Model name
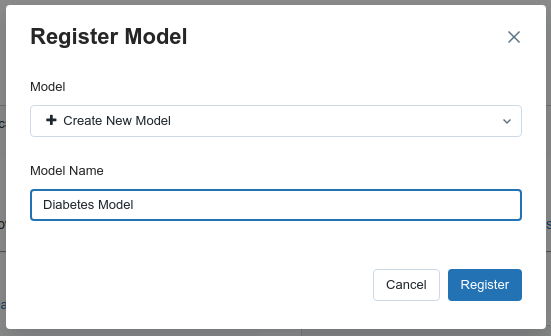
Then press Register button. Next, if we visit http://localhost:5000/#/models we will see that our model is listed as Registered Models

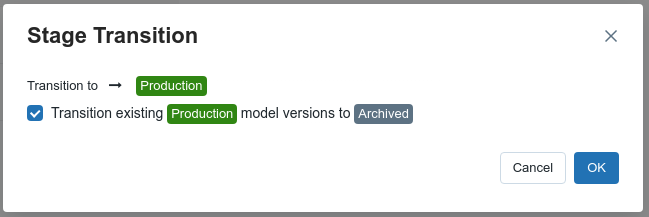
Next click to Diabetes Model, then set model stage to Production

Loading Model
Loading model in MLflow can be achieved by using specific run or using served model in our registered model. To load model by using specific run you can use the mlflow.{library_module_name}.load_model function. You’ll need the run ID of the run that logged the model. You can find the run ID in the tracking UI:
Then we can load in our code as follows
import mlflow

from sklearn.model_selection import train_test_split
from sklearn.datasets import load_diabetes

mlflow.set_tracking_uri('http://mlflow-web:5000')

db = load_diabetes()
X_train, X_test, y_train, y_test = train_test_split(db.data, db.target)

run_id = "7c46f41e60154b34ac5f9a48a001dd96"
model = mlflow.sklearn.load_model(f"runs:/{run_id}/model")
predictions = model.predict(X_test)
print(predictions)

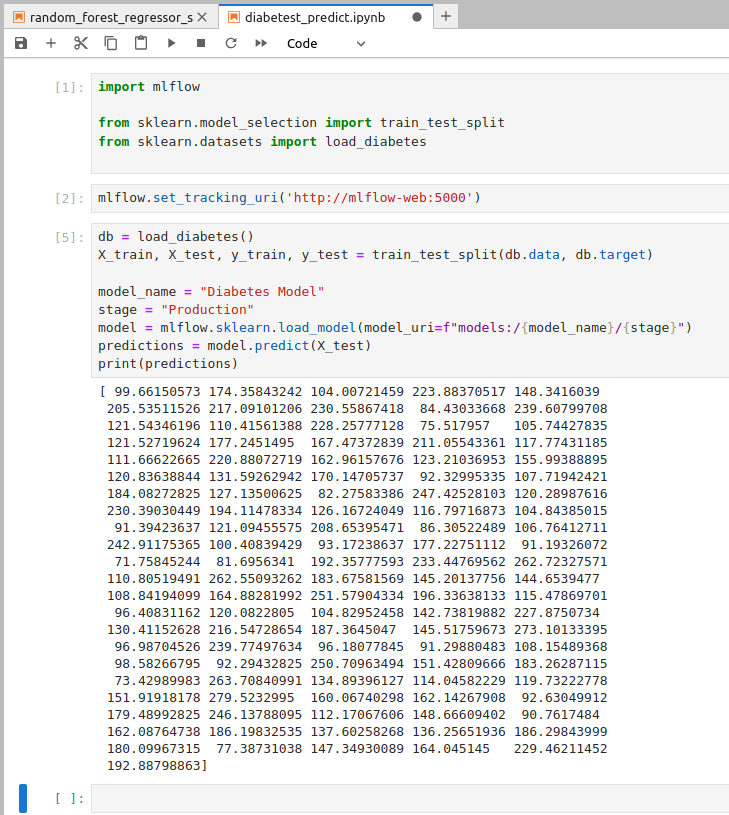
Or we can load model using model version, this is the common way to load model in production env
import mlflow

from sklearn.model_selection import train_test_split
from sklearn.datasets import load_diabetes

mlflow.set_tracking_uri('http://mlflow-web:5000')

db = load_diabetes()
X_train, X_test, y_train, y_test = train_test_split(db.data, db.target)

model_name = "Diabetes Model"
stage = "Production"
model = mlflow.sklearn.load_model(model_uri=f"models:/{model_name}/{stage}")

predictions = model.predict(X_test)
print(predictions)
Conclusion
Without a doubt MLflow is an incredible tool to record the models, their parameters, metrics and input data, but also to put these models into production. With MLflow we can have reproducible data science experiment. Docker in other hand, will help us to simulate production condition with actual cloud storage and managed databases. By combining both we can create reproducible ML Workflows environment.
For full example you can check this repository
 nsiregar