Setting up Appium with multiple iOS devices
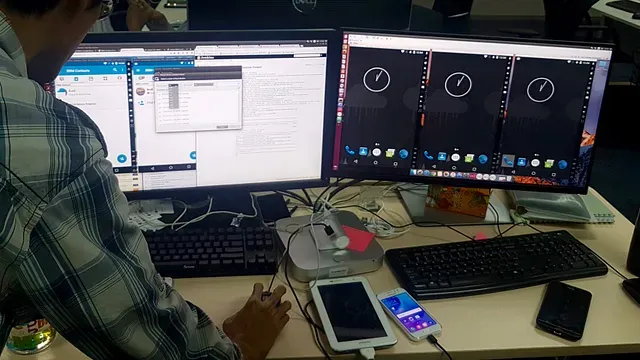
iOS Simulator has been painful for Appium users because it only runs a single emulator on one Mac. There are several techniques to open multiple iOS simulators on one Mac. The first is using the “open” command and the latest that I’ve heard from the last ISQA meetup is using fbsimctl, that can run multiple iOS simulators. Unfortunately to run it with Appium we need to change xcrun that Appium use to build webDriverAgent to fbsimctl. We’re still trying to make the magic works. This is the workaround we propose, using two iOS devices.
Using a Mac to spawn multiple Appium server is an awesome solution if we need two or more devices to execute the test cases, e.g. chats, buyers-users interaction, admin-user interaction, or to parallelize the test cases.
Dang, I already talk too much about Appium, xcrun, webDriverAgent and fbsimctl. Let me go through it one by one.
Appium
Appium is one of the automation testing tools, to help testers to not getting exhausted at our jobs. Just imagine this, the testers had hundreds, or maybe thousands of test cases and we need to check it manually. How long would it takes? And what if we do daily deployment? I am really sure it will be really painful. As described at appium.io,
Appium is an open-source tool for automating native, mobile web, and hybrid applications on iOS and Android platforms. Native apps are those written using the iOS, Android, or Windows SDKs. Mobile web apps are web apps accessed using a mobile browser (Appium supports Safari on iOS and Chrome or the built-in ‘Browser’ app on Android). Hybrid apps have a wrapper around a “webview” — a native control that enables interaction with web content.
If you need reasons why use Appium, read here for answers.
xcrun
xcrun is a command that xcode use to locate or invoke developer tools from the command-line, without requiring users to modify Makefiles or otherwise take inconvenient measures to support multiple Xcode tool chains.
webDriverAgent
webDriverAgent is used to communicate the device and appium server and commands, this server allow us to tap, scroll, kill app and open app.
Without further ado, these are the steps to make your iOS device ready to automate.
These are the ingredients:
Appium, Xcode, Mac OS X, multiple iOS device.
Appium setup
To install appium run this command in terminal
$ npm install -g appiumto make your appium works with iOS, we need to install other dependencies. Fortunately appium also created a tool named appium-doctor to verify is the dependencies already installed. It also helping us to solve if the dependencies are not installed yet.
Spawn multiple appium servers
If appium installation is checked, we’re ready for next step, spawning multiple appium servers, run this command to spawn appium server
$ appium -p PORT --webdriveragent-port WDALOCALPORTPORT default value is 4723 and WDALOCALPORT default value is 8100. to run another appium server use another port and wdalocalport value e.g. 4724 and 8200.
Set appium capabilities
This capabilities is to make sure you run what kind of test we’re interested to starting up. Since we use Robot Framework to run our tests, in Open Application keywords we use this capabilities
As you can see those are the capabilities we need, to fill its value we have test_data.robot here is the sample of test_data.robot
If you need another user, create another dictionary with that example value, to make sure we can use those, run the Open apps keywords
That’s it. You’re multiple iOS device is ready to test.